
Terrarium & Vivarium Care
7 Easy Steps on How to Set Up a Bioactive Terrarium: Beginner’s Guide

Jul
How to Set Up a Bioactive Terrarium: A Beginner’s Step-by-Step Guide
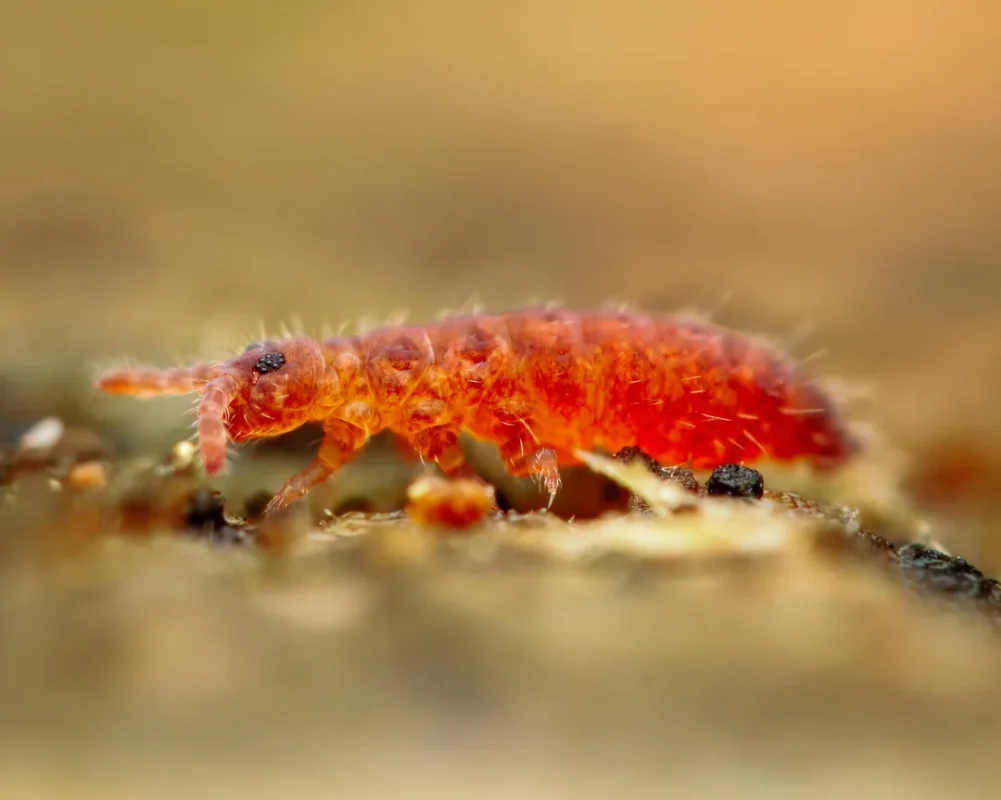
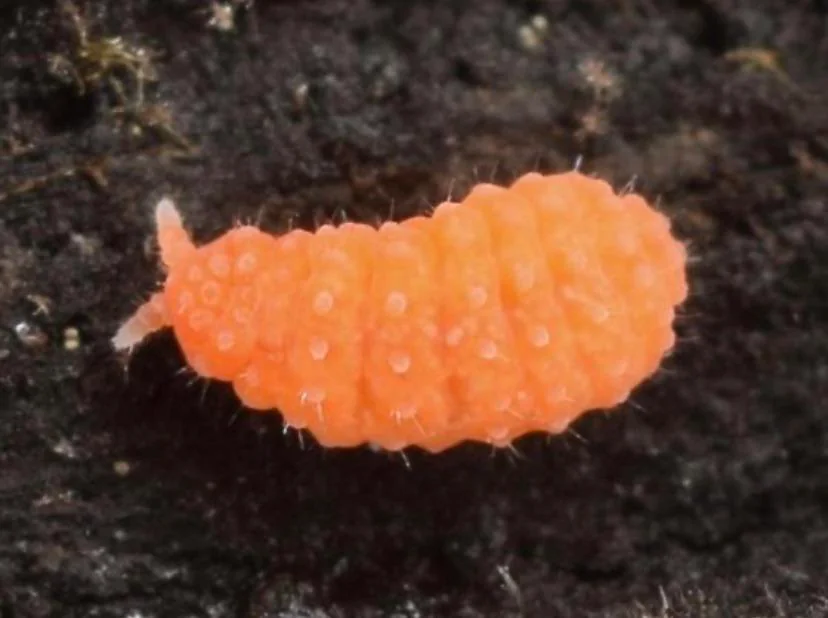
A bioactive terrarium is an enclosure built as a self-sustaining ecosystem for live plants, a cleanup crew of springtails and isopods, and a substrate designed to support both, working together so the enclosure largely maintains itself rather than needing constant manual cleaning. It’s more involved to set up than a standard terrarium, but the payoff is a healthier, lower-maintenance enclosure once it’s established.
This guide walks through the full setup process from an empty tank to a functioning ecosystem, in the order you’d actually do it.
Table of Contents
1. What Makes a Terrarium “Bioactive”
A standard terrarium is essentially decoration around an animal with substrate, décor, maybe a plant or two, all maintained through manual cleaning. A bioactive terrarium adds a functioning ecosystem underneath that decoration: a springtail and isopod cleanup crew that consumes waste and mold, live plants that use the nutrients that cleanup crew recycles back into the substrate, and a substrate structure specifically built to support both.
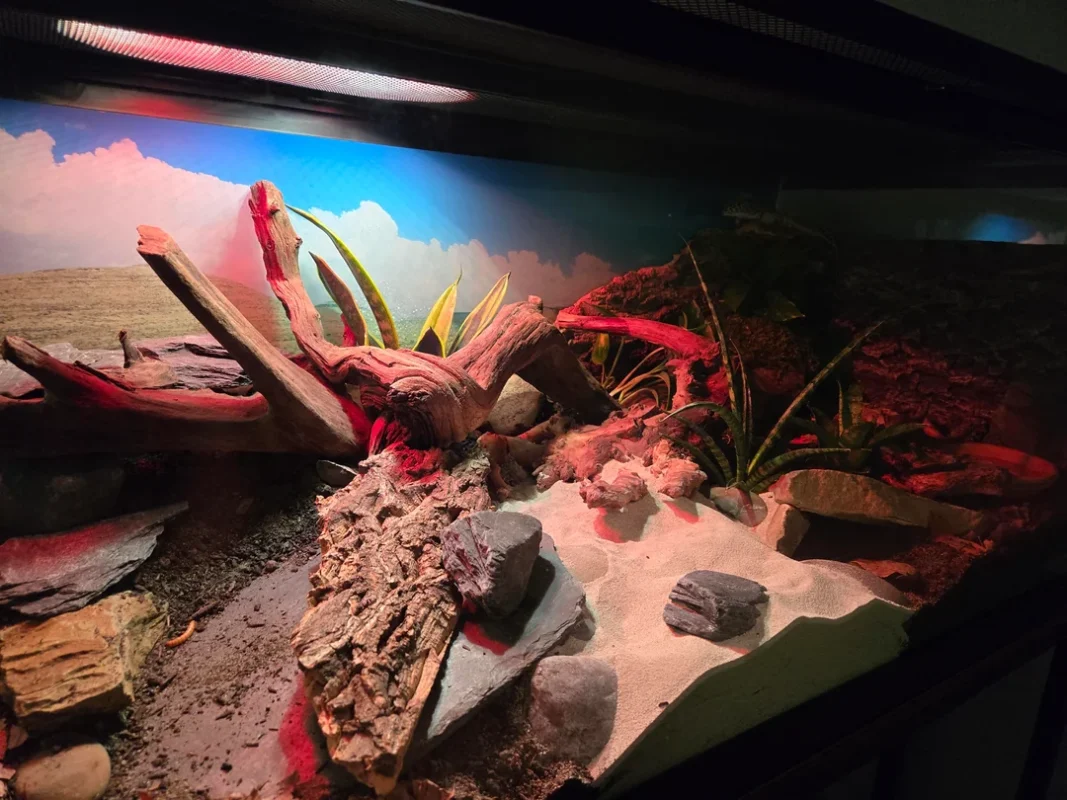
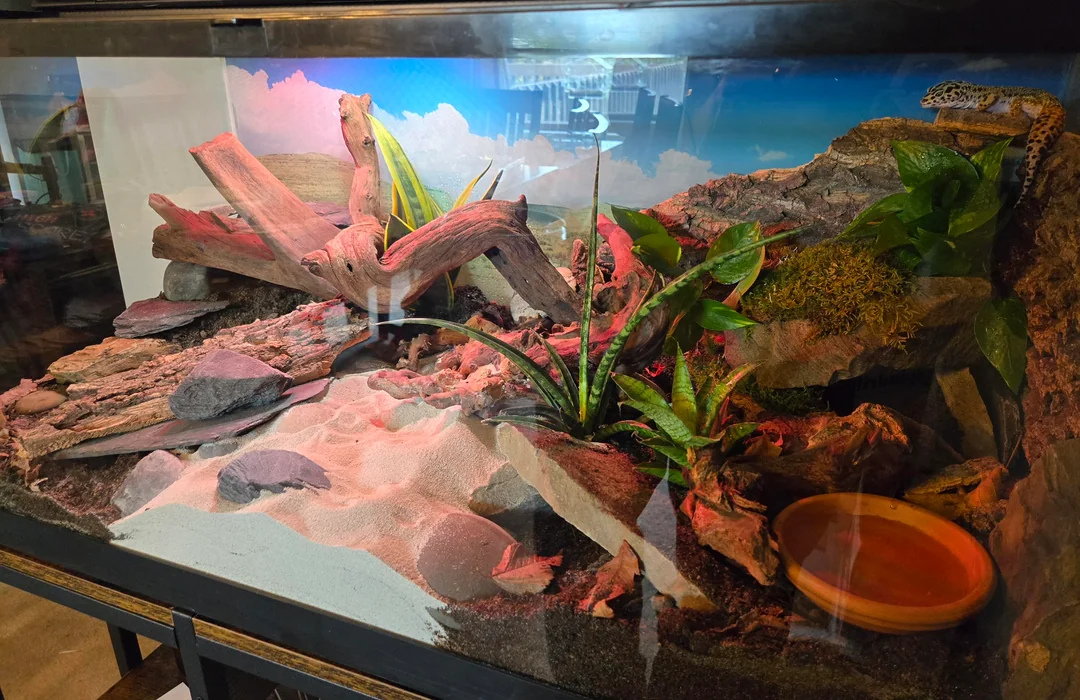
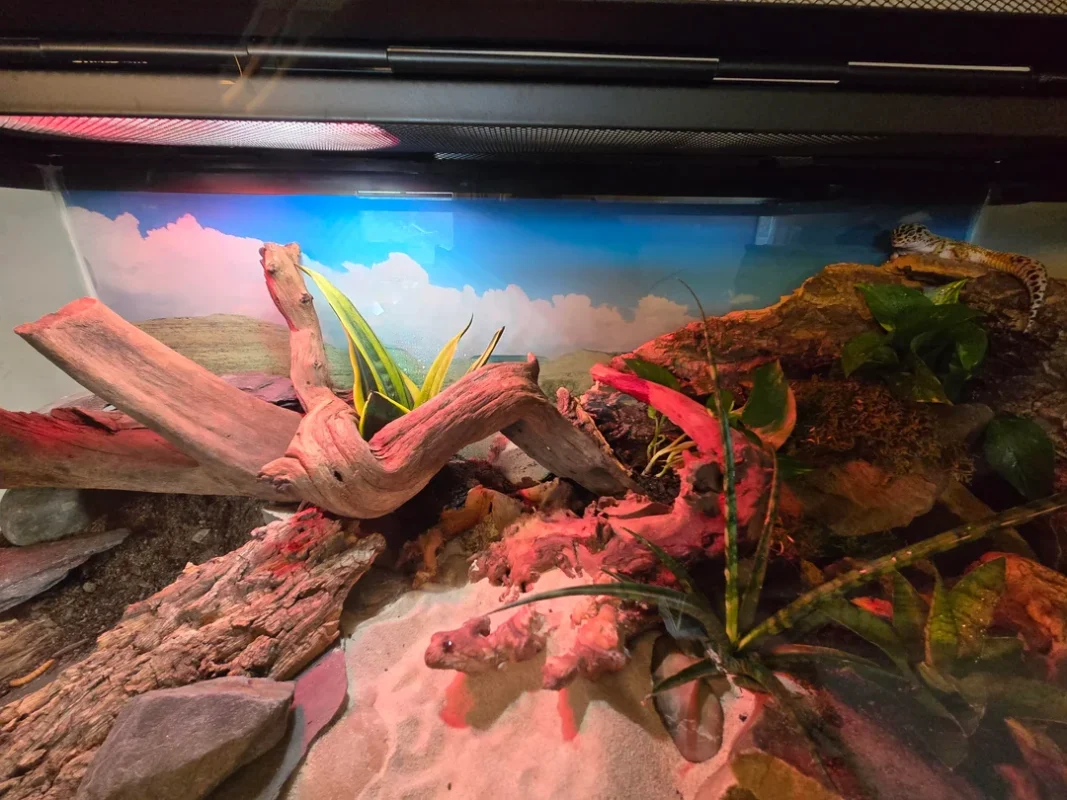
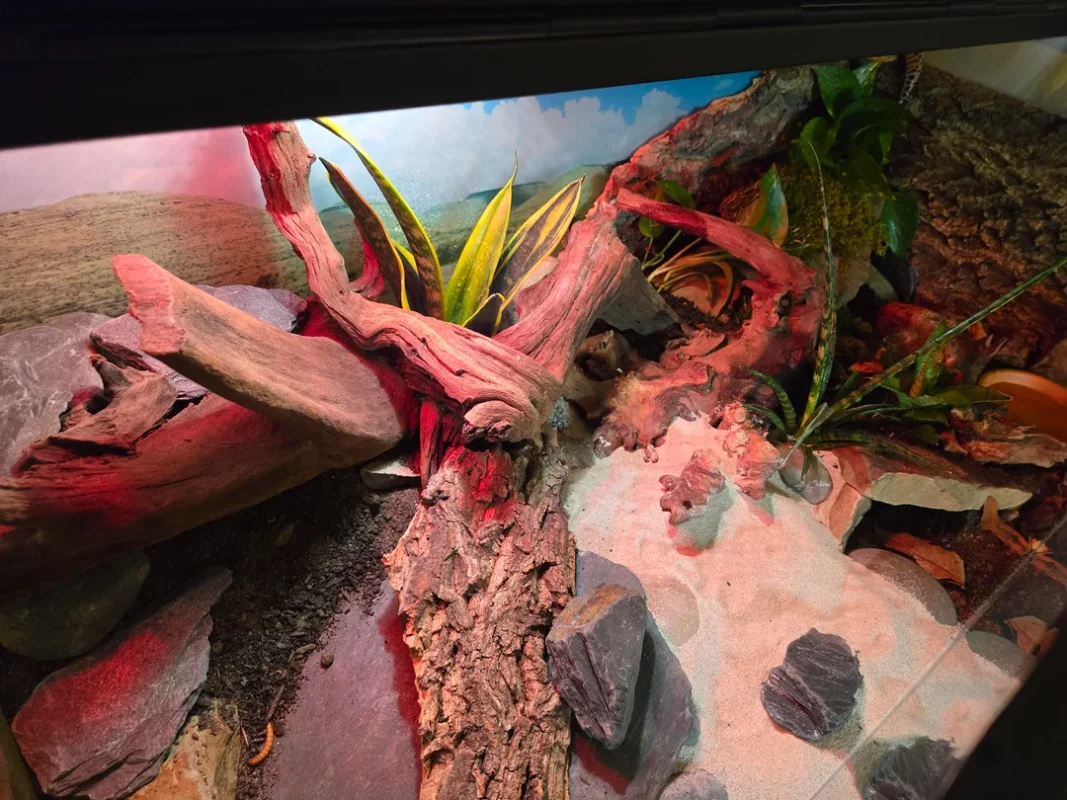
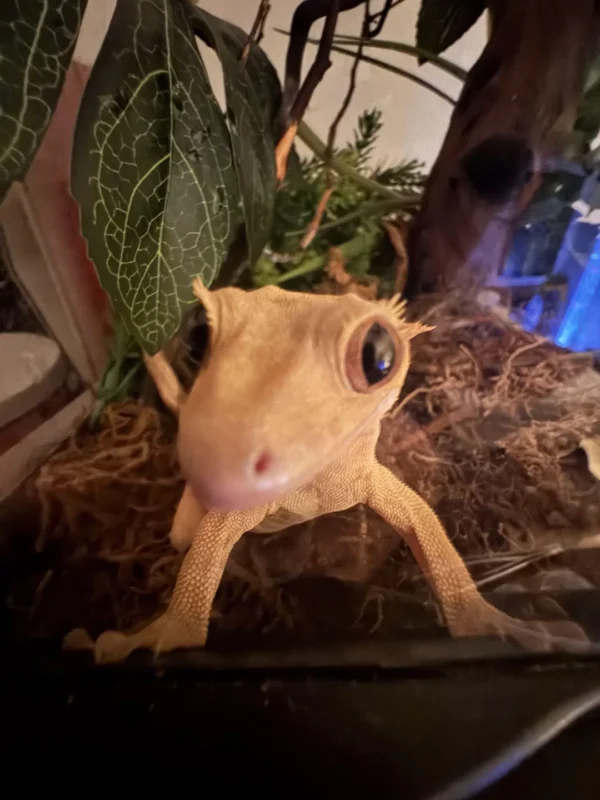
The result, once established, is an enclosure that manages mold, waste, and odor largely on its own, rather than requiring the frequent manual spot-cleaning a standard terrarium needs.
2. What You’ll Need
- An appropriately sized enclosure for your animal (or, for a display-only build, sized to your intended plants and aesthetic)
- A drainage layer material (expanded clay pebbles or similar)
- A substrate barrier (mesh screen, typically fiberglass or similar mesh that won’t degrade in moisture)
- A bioactive substrate mix (often a blend of coco fiber, sphagnum moss, orchid bark, and similar organic components with many premade bioactive substrate blends are available if you’d rather not mix your own)
- Hardscape materials (wood, rock, cork bark)
- Live plants suited to your enclosure’s intended humidity and lighting
- A springtail culture, and ideally an isopod culture as well (see our springtails vs. isopods guide if you’re deciding between the two)
- Appropriate lighting and, if needed, a heat source for your specific animal
3. Step 1: Drainage Layer
Add a layer of expanded clay pebbles (or a similar inert drainage material) to the bottom of the enclosure, typically one to two inches depending on overall enclosure height. This layer gives excess water somewhere to go, preventing your substrate above from becoming waterlogged which is a major contributor to both mold problems and cleanup crew population crashes, covered further in our mold guide and crash troubleshooting guide.
4. Step 2: Substrate Barrier
Lay a mesh screen barrier directly over the drainage layer, cut to fit the enclosure’s footprint. This keeps your substrate from sifting down into the drainage layer over time, which would otherwise clog it and undermine the entire point of having drainage in the first place.
5. Step 3: Bioactive Substrate Mix
Add your bioactive substrate mix on top of the barrier layer, typically two to four inches depending on your plants’ root depth needs and your enclosure animal’s requirements. This substrate should retain moisture well without staying saturated, and provide organic material for your cleanup crew and plants to interact with as this is the layer where your springtail and isopod population will actually live and work.
6. Step 4: Hardscape and Décor
Add wood, rock, cork bark, and other hardscape elements before planting, since it’s much easier to arrange larger pieces before live plants are in place. Hardscape also creates the varied microclimates for some areas drier, some more humid, some in more shade so that gives your cleanup crew and plants more diverse conditions to establish in rather than one uniform environment throughout.
7. Step 5: Planting
Add live plants suited to your enclosure’s humidity and lighting conditions. Bioactive setups commonly use mosses, ferns, small aroids, and similar humidity-tolerant species, though exact choices depend heavily on your specific build. Plant roots benefit directly from the nutrient cycling your cleanup crew performs, which is part of why bioactive setups tend to support healthier plant growth than a standard terrarium substrate over time.
8. Step 6: Adding Your Cleanup Crew
This is the step that actually makes the enclosure “bioactive” rather than just well-decorated. Add your springtail culture (and isopod culture, if using both) directly into the substrate, ideally at multiple points across the enclosure rather than one single spot, especially in larger builds as this gives more even, faster establishment than seeding from a single location.
Check our sizing guide to match your culture size to your enclosure’s dimensions, and see our temperate vs. tropical comparison if you’re unsure which species suits your enclosure’s temperature and humidity range. If you’re building a dart frog vivarium specifically, our dart frog feeding guide covers species choices that double as a live food source.
9. Step 7: The Establishment Period
A newly seeded bioactive enclosure typically needs several weeks before the ecosystem is genuinely functioning with plants rooting in, cleanup crew populations establishing, and the substrate’s biological balance settling in. During this period:
- Maintain consistent moisture and appropriate temperature for your specific plants and cleanup crew species
- Avoid overfeeding your primary animal or cleanup crew during this window, since a still-establishing population is more vulnerable to a fouled substrate than an established one
- Expect some visible mold during this early period as this is normal (see our mold guide for the difference between normal early-stage mold and a genuine problem) and should reduce noticeably as your cleanup crew population establishes
10. Common First-Timer Mistakes
- Skipping the drainage layer or substrate barrier to save setup time is detrimental as this reliably causes waterlogging and substrate breakdown issues down the line.
- Adding the entire cleanup crew culture to one spot rather than seeding at multiple points, which slows even establishment considerably in larger enclosures.
- Adding an animal before the ecosystem has had time to establish, which adds bioload before the cleanup crew is ready to handle it as most experienced keepers let the plants and cleanup crew establish for at least a few weeks in a new build before introducing the primary animal, when the build timeline allows for it.
- Overwatering during the establishment period because the substrate “looks dry” on the surface, without checking moisture deeper in the substrate first.
- Choosing plants or cleanup crew species that don’t match the enclosure’s actual conditions, rather than reverse-engineering the build around what the animal and intended humidity level actually require.
11. Frequently Asked Questions
What layers does a bioactive terrarium need? A typical bioactive terrarium includes a drainage layer (expanded clay pebbles), a substrate barrier (mesh screen), and a bioactive substrate mix on top, followed by hardscape, live plants, and a cleanup crew of springtails and isopods.
How long does it take for a bioactive terrarium to establish? Most bioactive enclosures need several weeks for plants to root in and the cleanup crew population to establish before the ecosystem is functioning as intended, though visible progress often begins within the first one to two weeks.
Do I need both springtails and isopods for a bioactive terrarium? Not strictly, but most established bioactive builds use both together since they handle different waste types. See our springtails vs. isopods comparison for the full breakdown.
Is it normal to see mold in a new bioactive terrarium? Yes, some mold activity is common in the first few weeks of a new build, and should decrease as your cleanup crew population establishes. Persistent or spreading mold beyond the early setup period is worth addressing directly. See our mold guide.
Should I add my pet before or after the enclosure establishes? When your build timeline allows it, letting plants and cleanup crew establish for a few weeks before introducing the primary animal gives the ecosystem a head start before it needs to handle additional bioload.
What substrate is best for a bioactive terrarium? A blend that retains moisture well without staying saturated, typically combining coco fiber, sphagnum moss, and organic material like orchid bark and many premade bioactive substrate blends are available if you’d rather not mix your own.
Setting up a bioactive terrarium takes more upfront steps than a standard enclosure, but the structure is straightforward once you break it down: drainage, barrier, substrate, hardscape, plants, and cleanup crew, in that order, followed by patience during the establishment period. Once you’re ready for that last step, browse our full range of live springtail cultures to get your cleanup crew started, and check our sizing guide to match your culture to your enclosure.
